This process must be complete for every domain moving forward to establish further legitimacy and professionalism and ensure our webforms are working well and reliably for our clients.
FLuent SMPT Plugin Set Up
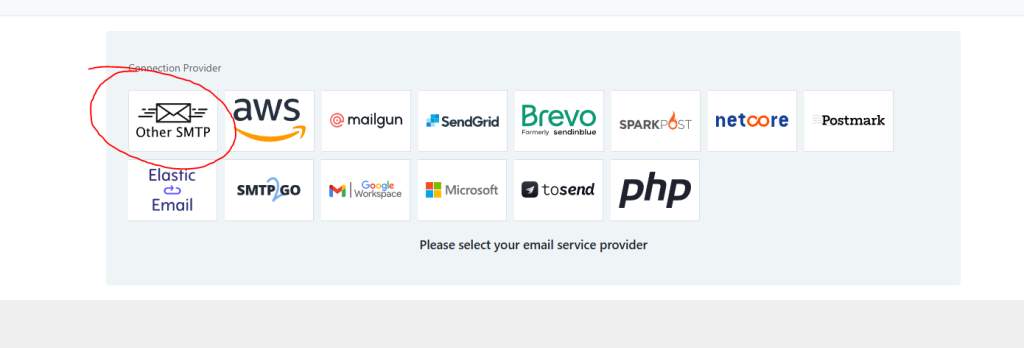
- First install the FLuent SMTP plugin to the clients website
- When setting up select “Other SMTP” option when configuring
- More info on the Fluent SMTP plugin can be found here
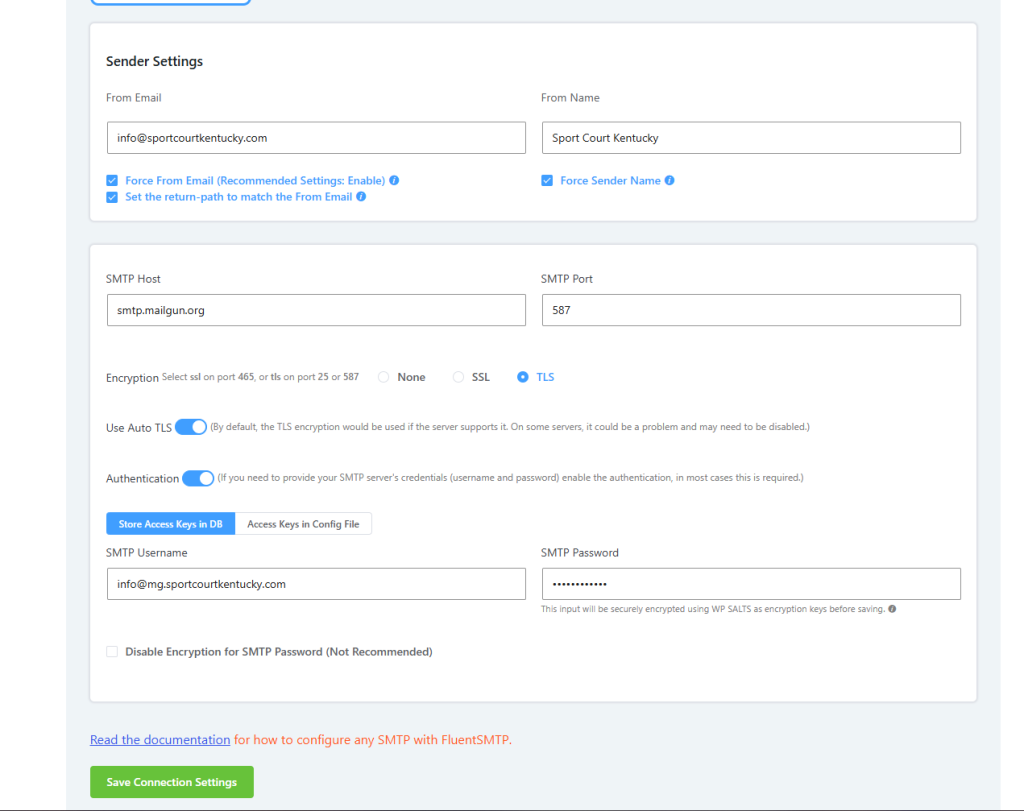
- Fill out the required information including from email, from name, SMTP Host, and SMTP Port. Make sure encryption is set to TLS and Auto TLS and Authentication are enabled. The From email should always be info@clientdomain.com and the from name should be their business name. The SMTP Username and password will be entered later
Mailgun Domain Set Up
- Navigate to mailgun and log in with the dev@ampv credentials and head to Send > Sending> Domains> Add new domain
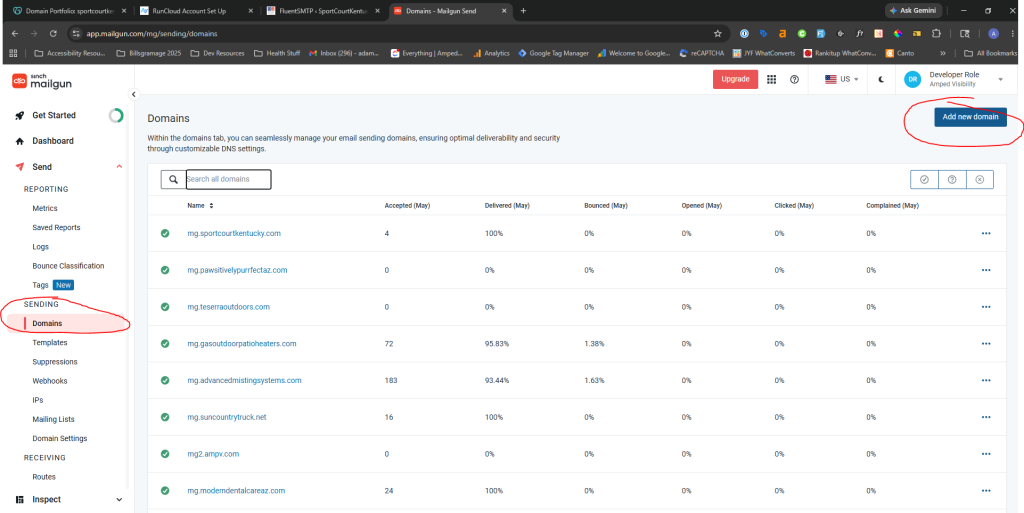
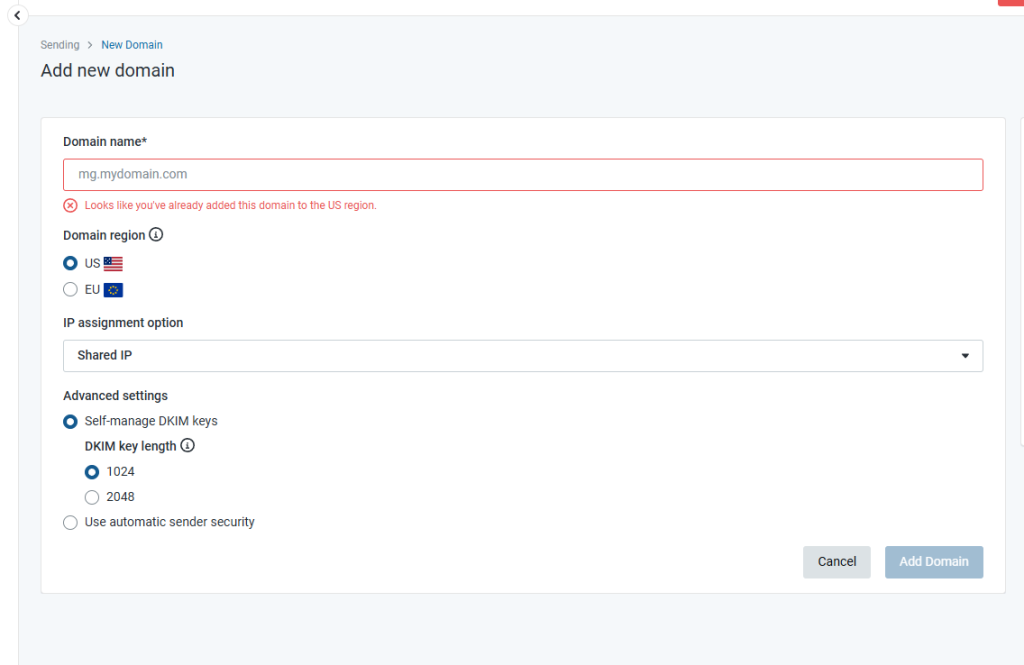
- Enter the domain name as mg.clientdomain.com, leave everything else checked as is and click add domain
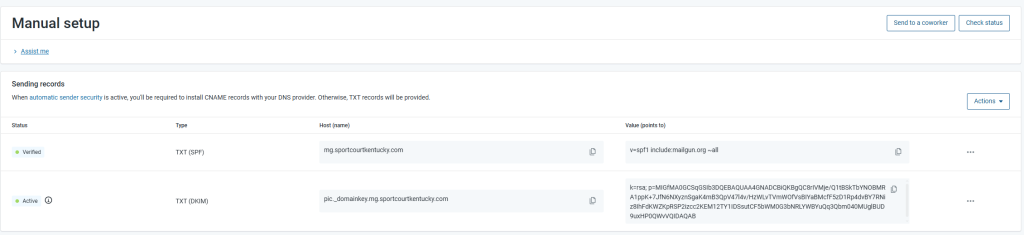
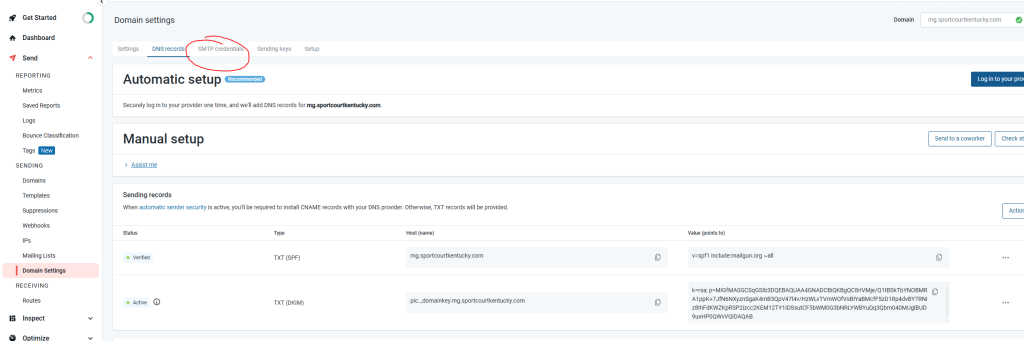
- This will take you to the DNS section where we need to make some slight modifications to the clients DNS zone files to ensure emails are routed through mailgun.
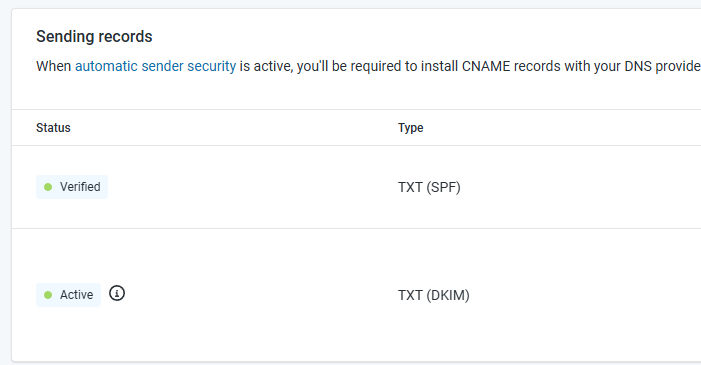
- We need to configure the Sending Records & the authentication records which is a new step required by google
- Mailgun will provide unique values dependent on the domain you create in this section

DNS Zone File Changes
- This can be the most complicated part of the process when it comes to finding the correct domain registrar to edit the DNS zone files. In this example we are using GoDaddy to accomplish this but the process will be very similar for any regitsrar.
- Navigate to the Domains section of the clients registrar account and look for something along the lines of DNS or DNS Configuration
- WE DO NOT WANT TO EDIT ANY EXISTING DNS RECORDS editing existing DNS records can break a website and leave it down for quite a while if we are not careful. We only want to ADD DNS records NEVER modify.
- Below is an example from GoDaddy on what you see when you click Add Record
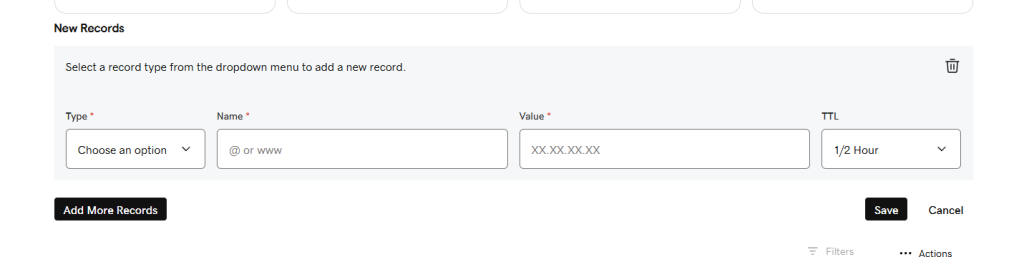
- Mailgun will provide us with the values all we need to do is enter the data in this godaddy example “name” will be what mailgun provided under “host” copy and paste the value in the next field for value and keep the TTL at half an hour

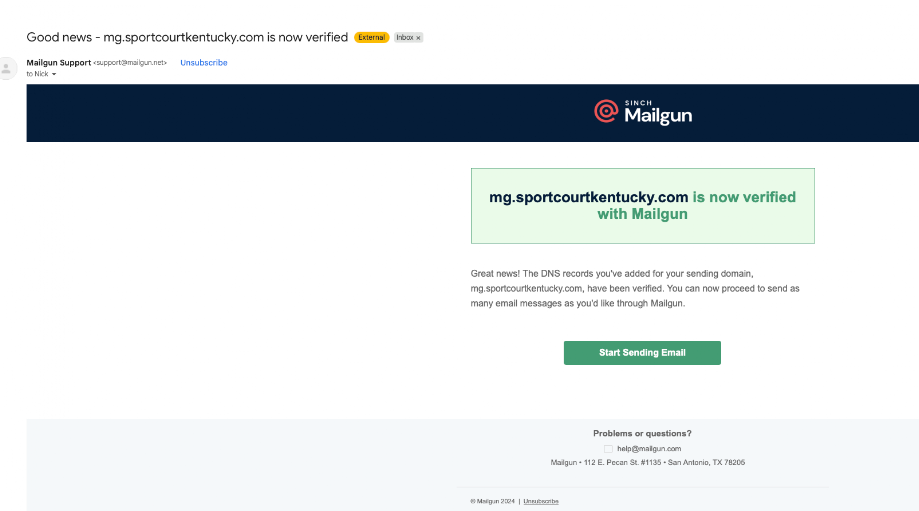
- After you successfully enter the DNS records mailgun requires, Nick will receive an email confirming its success
- If Nick is not available to confirm the email is received click the check status button and the records should be verified in mailgun within a few minutes although DNS changes can take 24 to 48 hours to fully propagate

SMTP Credentials Set up and Connect to Fluent SMTP
- Once the DNS changes are confirmed we need to set up a new SMT username under Mailgun navigate to SMTP Credentials
- Click the add new user button and enter the requested info for username we will do info@mg.clientdomain.com and generate a password so it is strong and hard to guess

- We will now enter those credentials into the SMTP Username and SMTP password fields under Fluent SMTP
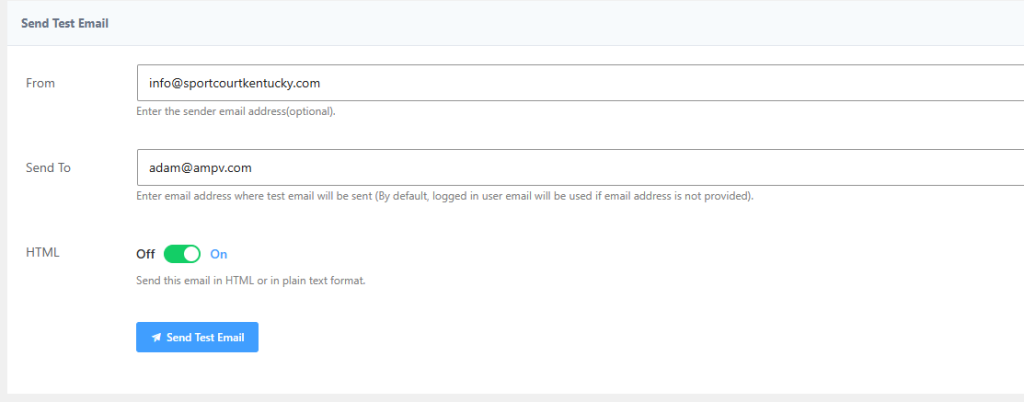
- once that is all configured navigate to fluent smtp email test and under from select info@clientdomain.com and enter your email address underneath “send to” then send a test email
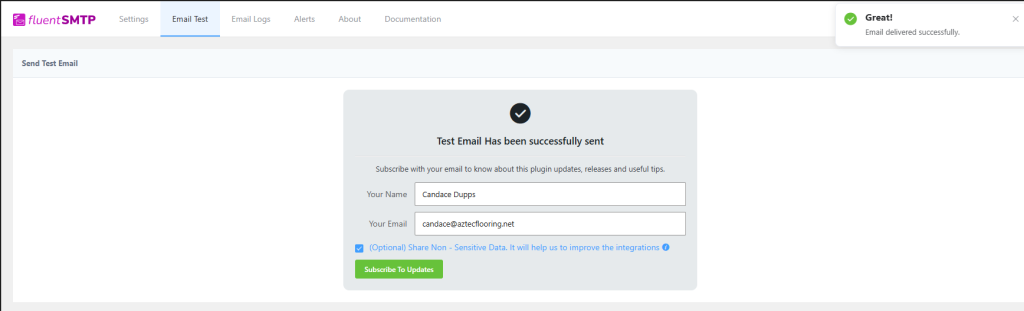
- If everything was set up properly you will get a success message on fluent smtp and your inbox
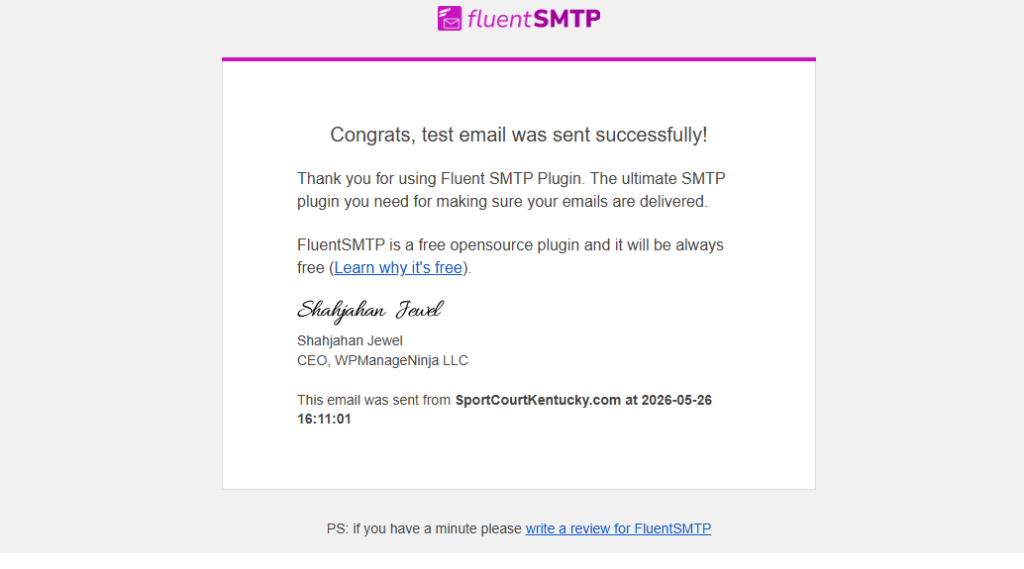
Congratulations! You have just ensured our clients web forms remain reliable.